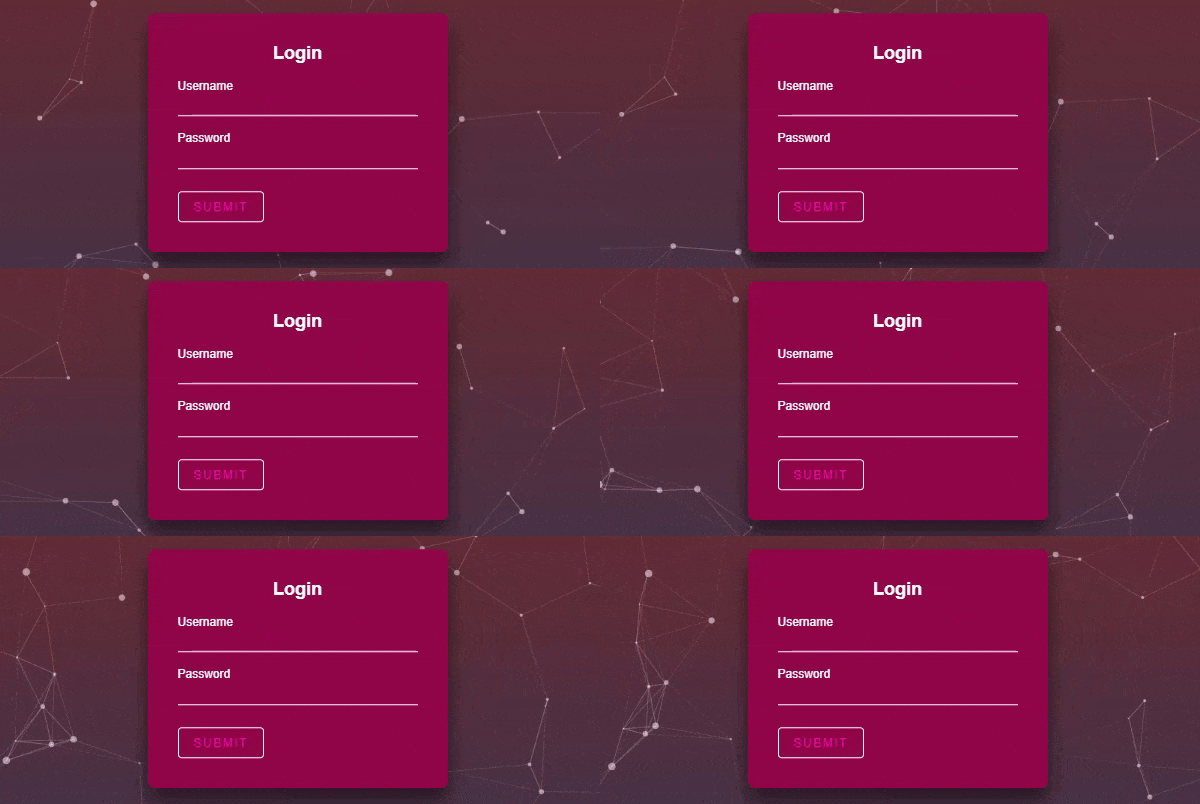
Login Page Template Design with Particle JS Animation
Last Updated: 2024-02-24 22:49:57
You may already know what is a login page template. Previously we created a login page template with an animated label and submit button. In this post, we will redesign this login page template with Particle JS animation. If you have no idea what is Particle JS animation Please what our Particle JS animation video First. Also, you can look into the cover photo of this post to get a basic idea. But don't worry in this post, we will also explain how can you add Particle JS animation to your login page template. So let's start.
Please note that this post is only for the design purpose, for form validation, you can check our login form validation and registration from the validation post.
👉 Five Login Registration Form Example 👈👈
- Login Registration Template With Google And Facebook Buttons
- Login Registration Template With Password Show Hide Feature
- Toggle Login And Registration Form In HTML CSS And JavaScript
- Login Page Template Design With Particle JS Animation
- HTML CSS Login Page Template With Animated Label And Submit Button
Design a login page template in HTML CSS
Typically every login page has a username field and a password field. So, to design a login page using HTML and CSS we need to use HTML input text field and input password field. Also to make our design user-friendly we need to use HTML label tags.
Here is a basic HTML login page structure.
< form action="#">
    < div class="userinputBox">
        < label for="username">Username< /label>
        < input type="text" id="username" required>
    < /div>

    < div class="userinputBox">
        < label for="password">Password< /label>
        < input type="password" id="password" required>
    < /div>

    < button type="submit">submit< /button>
< /form>
Explanation of how this code works:
- The < form> element is used to create a container for the login form. It defines the start and end of the form section.
- Inside the form, there are two input fields for the username and password, respectively. Each input field is wrapped in a < div> element with the class userinputBox to provide a container for styling purposes.
- The < label> element is used to create a text label for each input field. The for attribute in the label specifies which input field it is associated with by matching the id attribute of the input field.
- The first input field has the type set to "text" and an id of "username". This field allows users to input their username.
- The second input field has the type set to "password" and an id of "password". This field is used for entering the password. The password characters are usually masked for security reasons.
- The < button> element with the type attribute set to "submit" represents the submit button. When the user clicks this button, the form will be submitted.
- The required attribute is added to both input fields. This attribute ensures that the user must fill in these fields before submitting the form. If a required field is left empty, the browser will display a validation message and prevent the form submission.
- The action attribute in the < form> element is set to "#" as a placeholder. This means that the form data will not be sent anywhere in this example. In a real-world scenario, you would typically specify a server-side script or URL where the form data should be submitted for processing, such as a backend script that handles the authentication process.
When a user enters their username and password and clicks the submit button, the form data is sent to the URL specified in the action attribute. Since # is used as a placeholder, the form data will not be sent anywhere in this example. You can replace # with the appropriate URL to handle the form submission on the server-side and perform the necessary authentication logic.
Design the login page using CSS
.loginBox{
    position: absolute;
    top: 50%;
    left: 50%;
    transform: translate(-50%,-50%);
    width: 400px;
    background: rgb(144, 7, 72, .5);
    box-shadow: 0 15px 25px rgba(16, 5, 10, 0.6);
    border-radius: 10px;
    padding: 40px;
}

.userinputBox{
    position: relative;
    margin-bottom: 30px;
}

.userinputBox label{
    position: absolute;
    top: -20px;
    left: 0;
    color: #fff;
    padding: 10px 0;
    font-size: 16px;
    pointer-events: none;
}

.userinputBox input{
    width: 100%;
    background: transparent;
    border: 0;
    outline: none;
    font-size: 16px;
    padding: 10px 0;
    border-bottom: 1px solid #fff;
    color: #fff;
}

.loginBox button{
    color: #fff;
    background: transparent;
    border: 1px solid #fff;
    padding: 10px 20px;
    border-radius: 5px;
    color: #f403af;
    text-transform: uppercase;
    letter-spacing: 2px;
    font-size: 16px;
    cursor: pointer;
    transition: .5s;
}
Please note that this is just an example, you can download the complete source code for here.
Add particle js animation to your login page template
Particle.js animation is a JavaScript library that allows you to create dynamic and visually appealing particle effects on a web page. It generates and animates small, independent elements called particles, which move and interact with each other in various ways.
Think of particles as tiny dots or objects that move around the screen. Each particle has properties like position, velocity, size, color, and opacity. By manipulating these properties, Particle.js can create a wide range of effects, such as floating particles, flowing lines, or even custom shapes.
How can we add this animation to our login page template?
To add Particle.js animation to the body of a website, you'll need to follow these steps:
Step 1: Include Particle.js Library
First, include the Particle.js library in your HTML file. You can either download the library and host it locally or include it from a Content Delivery Network (CDN). Here's an example of including it from the CDN:
< script src="https://cdn.jsdelivr.net/particles.js/2.0.0/particles.min.js">< /script>
Step 2: Create a Container
Next, create a container element where you want the particle animation to appear. This could be the < body> element or a specific < div> within the body. Give the container an id attribute for easy targeting in JavaScript. For example:
< body id="particles">
